Shuttle SD32G2
4. Opening the case
After opening the case (very easy), we can finally access the interior. Every seems well packaged and secured at their place. This is the left side of the box. We can see the two PCI/PCI-e and memory slots.

Zooming can give us more details. You can see that one SATA cable is already pre-installed. There is another SATA slot available and of course an IDE channel (cable also pre-installed). We do believe that such case should had at least 4 SATA connectors, most optical drives are now SATA also... The 945G Express chipset is cooled by an air blower, while the 950G graphics card by a passive heatshink.

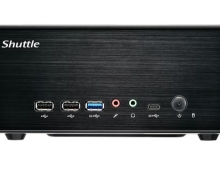
Moving to the left side, we can see the CPU area and the PCI, PCI-e slots. There is also a tiny Clear CMOS button, which can be accessed from the outside, so in case of a bad setting, you don't have to open the box, very handy!

The box can handle two (2) 3.5" devices (2x HDD or 1x HDD, 1x floppy) and a 5.25" optical device.

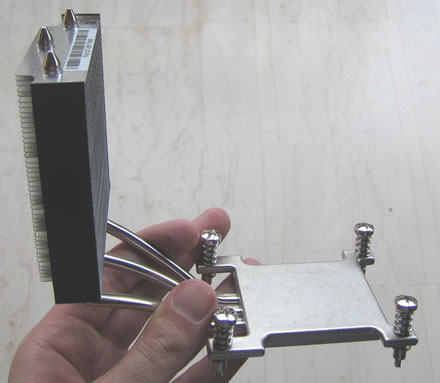
Removing the storage bay, we can see clearly the interior. The CPU cooler is what Shuttle proposes for silent use. Its made out of aluminum with three heat pipes going to a big aluminum heatshink. In top there is a 92mm fan that blows out the heat out of the box.

Here is the CPU cooler uncovered
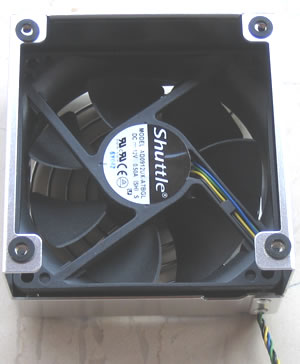
While the rotating fan is "made" from Shuttle:
At the right side, we can see the "big" PSU, its rated at 250W
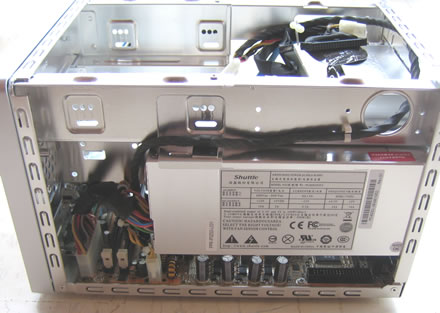
with the following output values, they should be enough to power, two HDD, one optical recorder an a PCI-E card, but we will find out later if it does :-)

For our tests, we installed a 3.5" HDD drive. We used the pre-installed SATA and power cables, so everying is tidy and there is lot of room space under the storage bay and the CPU area.

In case you install more HDD and optical devices, space room would be smaller, but efficient for low CPU temperatures: