CPU Coolers Roundup For LGA1366 April 2009
6. Mugen 2 by Scythe
| Manufacturer | Scythe |
| Model | |
| Price | $32 |
| Category | Overclockers |
The Scythe Mugen 2 is an improved version of the company's Mugen series of CPU coolers, which had showed a very good performance in our previous tests. The new series are produced using the highest Japanese quality standards and its design allows you to install simultaneously up to 4 CPU fans for extreme cooling efficiency.

The box contents include mounting plates for various sockets, metal clips used to install the fan, screws, thermal paste and an installation manual.

Muge 2 is a rather big cpu cooler with five full copper heatpipes that pass through the nickel-plated copper base up to the aluminum fins. The unique design allows you to install up to four 120mm fans!. The total weight of this baby is 870gr, without no fans attached of course...


The included 120mm fan can be set to rotate at 200rpm ~ 1300rpm (±10%), meaning that you will be able to play with the spinning settings in order to find the best cooling efficiency and low noise levels.

- Installation
The installation process is rather lengthy ..First you need to read the instructions and understand what you have to do. For the the LGA-1366 platform, you have to remove the Intel's standard backplate and replace it with the one that Scythe bulks with. For that purpose Scythe has included the right tool.
The first move is to release the cpu latch and remove all the screws:
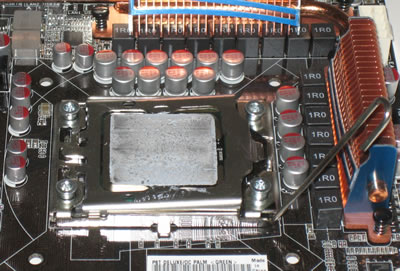
Carefully remove the upper base and next the bottom backplate. Keep them in a safe place because you may need them in the future.


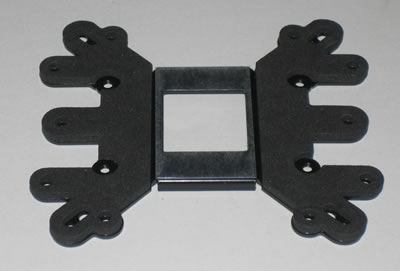
The Scythe backplate supports both the LGA775 and the LGA1366 platforms, but of course you should use different holes for each case. The printed manual will not help you much here so you have to guess which hole should be used for the LGA775/1366 system
First you have to place the four screws as well as the plastic insulation washers:

Then place the backplate on the motherboard and fasten it using the included tool:


The next step is to secure the LGA1366 mounting mechanism. Keeping the cooler upside down, we carefully placed the motherboard on it and in the right position then secure it using the included screws.

After sometime, our cpu cooler is installed and our system ready to use.

The size of the cooler is really big especially with the 120mm fan installed. It's a good idea to install memory modules first before attaching the CPU fan.
