Thermaltake Element Q
3. Inside
In order to open the box you need need to use a screwdriver. It would be nice if Thermaltake had used thumb type screws here but but anyway we can live with it. After removing the screws the cover slides back and it can be removed.
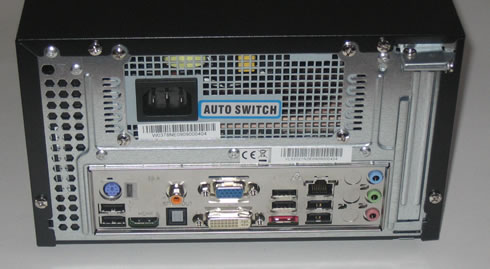
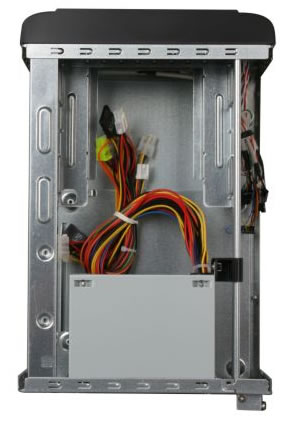
There is a lot of empty space in the box, allowing for easy installation of the mini-ATX motherboard and the HDD. The power supply unit offers many cables in order to power SATA or molex type devices:

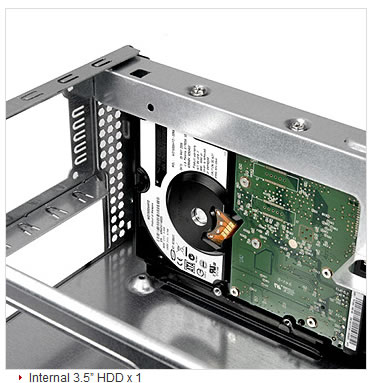
Thermaltake suggests to install the 3.5" on the right using the two installation rails, which is very easy to do as we will see later on.

The front cover is also very easy to remove. Just push the four clips inside the case and apply small force.
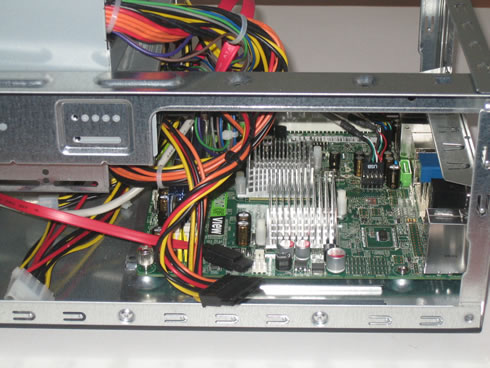
How about starting the installation? Firstly, you have to attach and secure the mini-ATX motherboard using the screws included in the case bundle. Then you have to install the memory modules and the 24pin power jack. Finally, getting the HD Audio and USB ports for the front panel is highly suggested. Shortly after, here is how your case should look like:

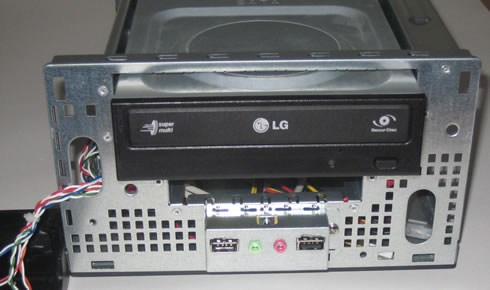
There is a lot of empty space left below the floppy drive area, where you can push all unwanted cables and tide them up. The 5.25" installation requires you to remove the front panel first and then to push the drive inside and fasten it with screws. Again, the procedure is very easy. After getting the SATA/power connected you are ready to go. Make sure to use only SATA optical drives since most mini-ATX motherboards do not offer IDA ports!
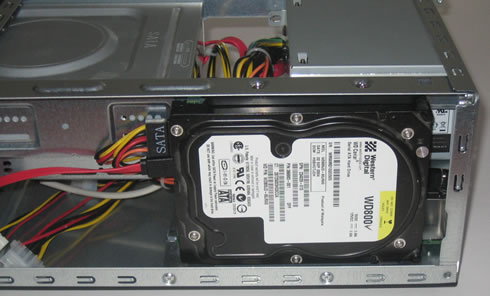
Let's put the power supply again at its place get the HDD installed.

The two rails help a lot here and after sliding the HDD in the right position, you will have to fasten the HDD using two mounting screws. Connecting the cabling can be a little bit tricky but you can handle it for sure.
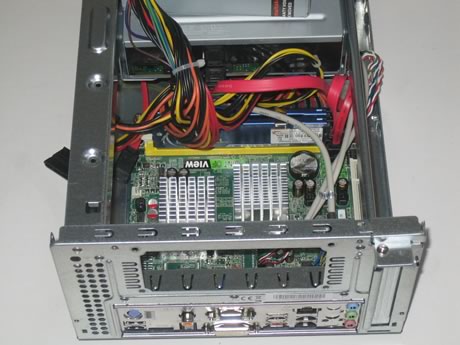
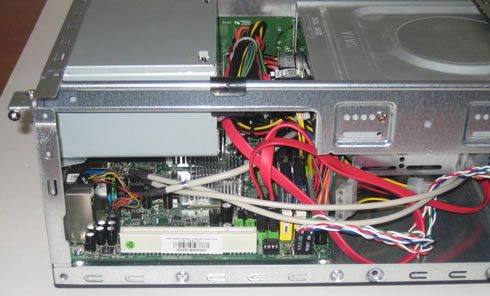
One more picture from the internal. As you can see the cables are enough and a careful tide would help a lot:
OK, we have everything installed and closed the external case, ready for use: