Breaking News

Acer Expands Gaming Handheld Portfolio with Predator Atlas 7 Sony Expands its ULT POWER SOUND series Lineup with 3 New Bass-Powered Speakers Sonos Introduces Sonos 27, the Next Generation of Its Audio Operating System EnGenius announces ECW560 Wi-Fi 7 Outdoor Router Club3D announces 40Gbps USB4 NVMe enclosure and Space-Saving dual port Wall Charger

logo

  • Share Us
    • Facebook
    • Twitter
  • Home
  • Home
  • News
  • Reviews
  • Essays
  • About
    • Submit News

    • Contact Us
    • Privacy

    • Promotion
    • Advertise

    • RSS Feed

Search form

Arctic Cooling NV Silencer 5

Aug 12,2005 0

2. Installation


Review Pages

1. Introduction
2. Installation
3. Performance
4. Conclusion


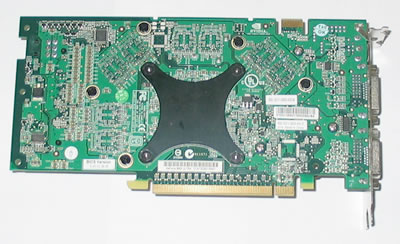
The Arctic Cooling NV Silencer is not difficult to install, but the whole procedure needs a little patience and care in order to avoid any possible damage to the VGA card. As you can see, the VGA card used for this test was the AOpen Aeolus 6800 Ultra.

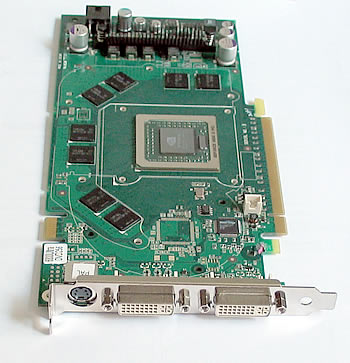
Here is our VGA card with the stock cooler.

First step obviously is to remove the previous stock cooler. Patience and care are required here also.

...many items must be removed :-)

As soon as you remove the stock cooling system, you should clean the GPU and memory chipsets of any thermal compound remains. After cleaning the surface, we should have a nice clean GPU and memories that look something like this...

original cooling system removed

Don't forget to also remove the graphics card's mounting bracket. This is a double width bracket and will be replaced with two custom brackets included in the package which are vital in order for the NV Silencer 5 to work properly.
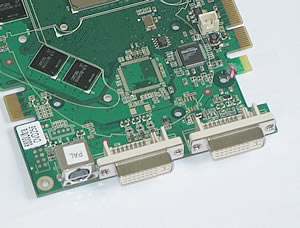
the stock mounting bracket should be removed

Our next step is to attach the new bracket. There are two different brackets, but for now we will install only the one that fits on the graphics card. The other one will be mounted on the PC case, which we will describe later.
the new mounting bracket is half-sized than the original

Before installing the NV cooler onto our VGA card, we peeled off all the thermal compound protective strips.
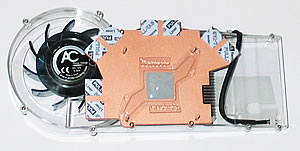
Now we can place our VGA card on the NV Silencer.

We put the VGA on the cooler...

Make sure everything is in the right position.
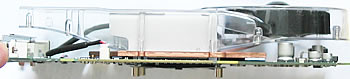
a profile view of the VGA on the cooler...

Now put the holding bracket on the rear side of the card...
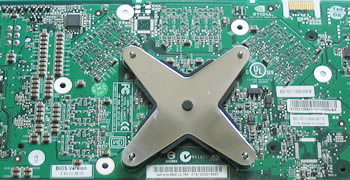
first place the rubber mount and afterwards the metallic bracket.

...and now screw in the retaining bolts.
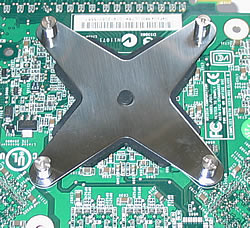
screw the retaining bolts

Finally, don't forget to plug-in the power connector.
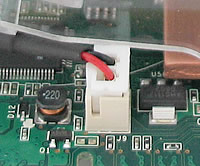
the power connector should be connected

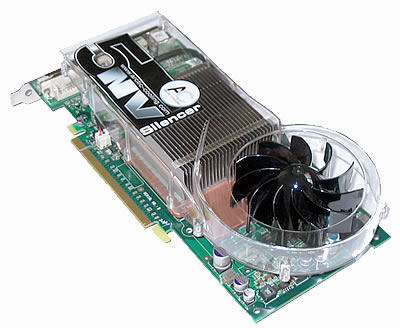
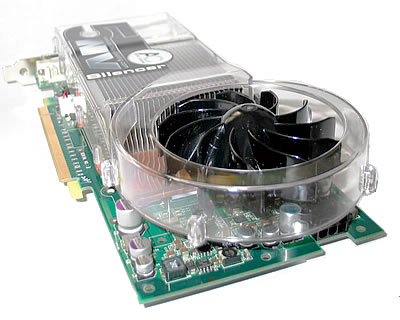
And the NV Silencer 5 is installed on our VGA card.
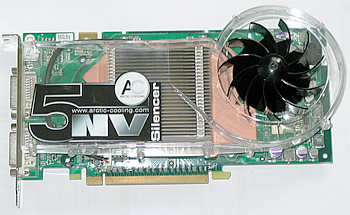
One thing we didn't like is that we had to remove a metallic heatsink from the graphics card in order for the NV5 to fit. The NV5 cooler did not cover the components cooled by this heatsink.
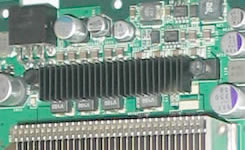
In order NV Silencer to fit we had to remove the above metallic heatsink.

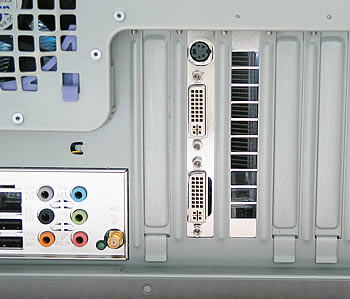
The final step is to install our VGA card in our PC case.

The second metallic bracket will be installed now...
...which provides a heat exhaust outlet from the case.

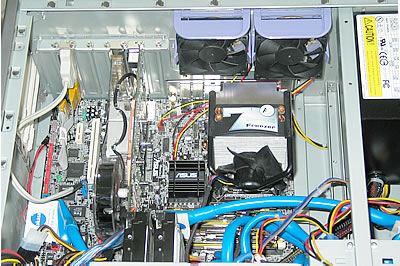
Everything set :-)


Review Pages

1. Introduction
2. Installation
3. Performance
4. Conclusion


Pages

  • « first
  • ‹ previous
  • 1
  • 2
  • 3
  • 4
  • next ›
  • last »

Arctic Cooling

Tags: Arctic Cooling
Previous Post
Apacer Steno AB320 MP3 Player Review
Next Post
AMD Athlon 3000+

Related Posts

  • Arctic Liquid Freezer II 360 Α-RGB

  • Arctic Liquid Freezer II 280 RGB

  • Arctic Unveils the Freezer 7 X CPU Cooler

  • Keep Your AMD 3rd Gen Ryzen Threadripper Processor Cool with ARCTIC Freezer 50 TR

  • ARCTIC Unveils the Liquid Freezer II series

  • Arctic Introduces New Freezer 34 CPU Coolers

  • ARCTIC Releases New VGA Cooler Series

  • Arctic Freezer i11/A11 CPU Coolers Released

Latest Reviews

be quiet! Dark Power 14 IO
PC components

be quiet! Dark Power 14 IO

SanDisk High Endurance 512GB microSDXC
Cameras

SanDisk High Endurance 512GB microSDXC

Samsung PRO Ultimate 512GB microSDXC
Cameras

Samsung PRO Ultimate 512GB microSDXC

be quiet! Light Mount TKL
Consumer Electronics

be quiet! Light Mount TKL

be quiet! Light Loop IO LCD
Cooling Systems

be quiet! Light Loop IO LCD

Popular News

CORSAIR announces Vanguard Pro 96 and Vanguard 96 Gaming Keyboards

CORSAIR announces Vanguard Pro 96 and Vanguard 96 Gaming Keyboards

MSI Launches FORGE GK600 TKL WIRELESS Special Edition Compact Mechanical Keyboard

MSI Launches FORGE GK600 TKL WIRELESS Special Edition Compact Mechanical Keyboard

TEAMGROUP Launches EXPERT P34F Find My External SSD

TEAMGROUP Launches EXPERT P34F Find My External SSD

Samsung announces Galaxy Tab S11 and Galaxy S25 FE series

Samsung announces Galaxy Tab S11 and Galaxy S25 FE series

Viltrox Showcases Upcoming Lens Lineup and New TTL Flash at IBC 2025

Viltrox Showcases Upcoming Lens Lineup and New TTL Flash at IBC 2025

Panasonic Introduces the First Ultra-Telephoto Zoom Lens in the LUMIX S Series

Panasonic Introduces the First Ultra-Telephoto Zoom Lens in the LUMIX S Series

MSI Launches DATAMAG 40Gbps Magnetic Portable SSD

MSI Launches DATAMAG 40Gbps Magnetic Portable SSD

MSI’s Latest AMD X870E MAX & EVO Series Motherboards

MSI’s Latest AMD X870E MAX & EVO Series Motherboards

Main menu

  • Home
  • News
  • Reviews
  • Essays
  • About
    • Submit News

    • Contact Us
    • Privacy

    • Promotion
    • Advertise

    • RSS Feed
  • About
  • Privacy
  • Contact Us
  • Promotional Opportunities @ CdrInfo.com
  • Advertise on out site
  • Submit your News to our site
  • RSS Feed