Hitachi DZ-MV100A DVD Camcorder
4. Using the Camera
Review Pages
Hitachi DZ-MV100A DVD-RAM Camrecorder - Page 4
- Using the camera
 Time
has come to insert the DVD-RAM disc! This process is quite easy. Simply turn-off
(important!) the camera and press the eject button. The cover of disc insertion
block (hand strap) will slightly open. Gently open the cover by hand until it
stops. Insert the DVD-RAM disc cartridge into the disc guide, so that the side
of disc you want to record faces the hand strap with the disc shutter towards
the video lens. The cartridge will stop once midway: Firmly push it in until
it stops. Gently push the section indicated "PUSH" on the cover of
disc insertion block (hand strap), to close the cover.
Time
has come to insert the DVD-RAM disc! This process is quite easy. Simply turn-off
(important!) the camera and press the eject button. The cover of disc insertion
block (hand strap) will slightly open. Gently open the cover by hand until it
stops. Insert the DVD-RAM disc cartridge into the disc guide, so that the side
of disc you want to record faces the hand strap with the disc shutter towards
the video lens. The cartridge will stop once midway: Firmly push it in until
it stops. Gently push the section indicated "PUSH" on the cover of
disc insertion block (hand strap), to close the cover.
Note that the DVD-RAM disc has an orientation: If it is forcibly inserted from the wrong direction, the DVD camcorder or cartridge could be damaged so take care!
In order to power up the DVD-Camera, push down the "Power" switch found at the back of the camera. When the DVD camcorder is turned on, an image will appear in the viewfinder and disc recognition will start. After approximately 25 seconds, the DVD camcorder will enter the recording pause status.
After the camera is turned on, you can start recording by simply pressing the "REC" button, found at the back of the camera. In case of taking pictures (stills) the "Photo" button placed upon the top should be used. We feel that since the recording mode is selected by another button (placed at the left side) the "REC" button could be also used for taking stills since the "Photo" button seems little inconvenient.
 Recording
can be done either through the color viewfinder or with the LCD screen. The
viewfinder can be rotated in various angles (up to 90 degrees) and has diopter
control under the eye cup.
Recording
can be done either through the color viewfinder or with the LCD screen. The
viewfinder can be rotated in various angles (up to 90 degrees) and has diopter
control under the eye cup.
Of course recording through the LCD screen is much more enjoyable! The LCD screen can be rotated in various angles (up to 115 degrees). If the LCD monitor is open more than approximately 90°, it can be tilted down as much as 90°, and can also be tilted up and turned up to 180°. This means you can use the LCD screen to record even your self. The recording with LCD screen open may be more preferable but costs at the battery life. If you can use the viewfinder, then do it, as this will expand the battery life. The LCD Panel has 200K pixels, while the viewfinder 180K pixels.
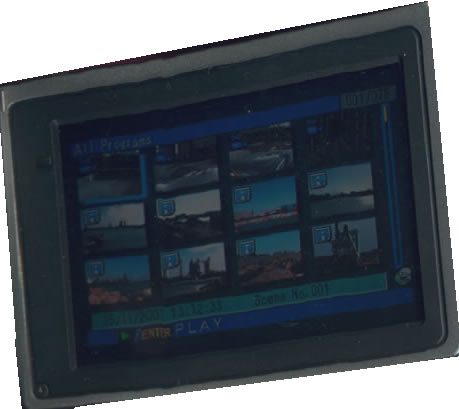
On the LCD screen/viewfinder a lot of information is displayed. The following picture sums most of them:

You can switch the display mode of on-screen information between 2 modes: a) Full display mode: All types of information will appear and b) minimum display mode: Only the recording mode, status display and warning will appear. At the left side, some other important information is displayed: The battery level, the remaining free space, the recording mode (movies/still):

Review Pages


