Epomaker RT80
2. Retail Package
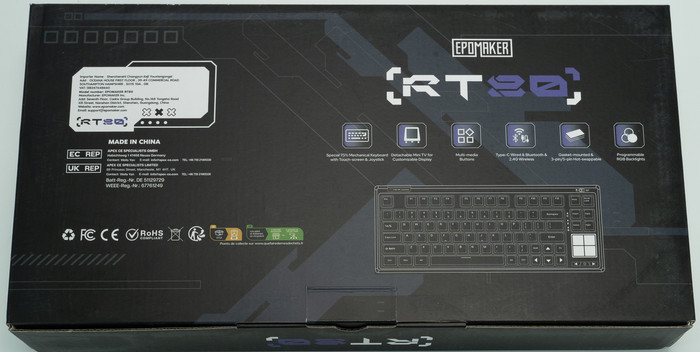
The retail box of the EPOMAKER RT 80 follows the design of other EPOMAKER products.

At the back users will find several information about the product
Everything is well protected, the main keyboard is inside a plastic protective shell, while there is foam around the keyboard for transportation protection:

Inside the retail box, you will find the main keyboard, a printed manual, a good quality type-C connection cable (1.6M length), keycap pullers, replacement switches/keycaps, and the extra mini LCD screen.


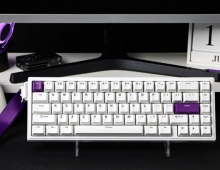
For our testing, we received the Gray White ($95.99) version, while Epomaker also sells Black ($95.99) colored keyboards. There are also two different switches available to order, the Epomaker Flamingo Switch or the Epomaker Wisteria Switch (Linear) in both colors. The RT80 is 25% smaller than a regular full-size keyboard, which many people like, it's all about personal taste.
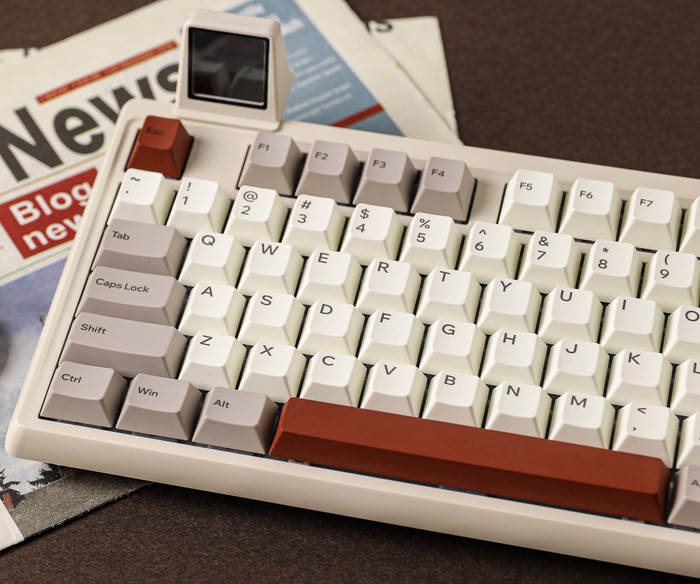
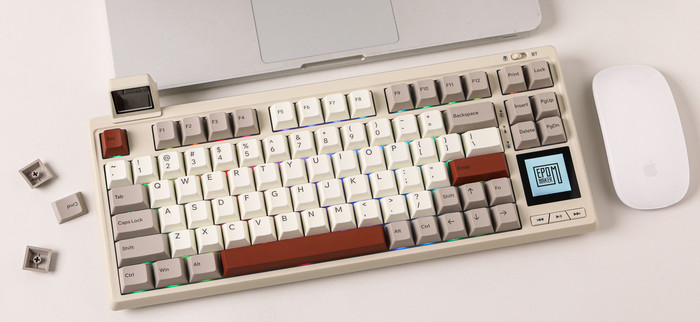
The product has a 332 x 130 x 45mm size and weight of ~1.5kg while the outer shell is plastic. There is included a 5000mAh battery, which is higher than other EPOMAKER models, due to the included 1.54" LCD screen that is present at the right bottom area.

At the bottom area, users will find two latches to raise the keyboard typing angle.


All keys are back-illuminated with several lighting effects:
FN + PGDN |
Turn On/Off Keyboard Lights |
FN + DEL |
Toggle Backlight RGB Effects |
FN + PGUP |
Change Backlight Colors |
FN+i |
Backlights Brightness - |
FN+T |
Backlights Brightness + |
FN + <- |
Backlights Speed - |
FN +-> |
Backlights Speed + |
FN + -_ |
Touch Screen Brightness - |
FN + =+ |
Touch Screen Brightness + |
, while can be full-key hot swapping. There is also an anti-ghosting system called N-key Rollover, while many operating systems are supported by Windows Vista /7/8/10/11, MAC, and Android. Users can also use various shortcuts to control several important functions like:
FN + ESC (HOLD3S) |
Reset the Keyboard |
FN + Q |
Long press to pair Device BT1; |
FN +W |
Long press to pair Device BT2; |
FN + E |
Long press to pair Device BT3; |
FN + R |
Long press to connect via 2.4 wireless; short press to change to 2.4 mode |
FN +BACKSPACE |
Battery Check |
At the left side of the keyboard, users will find the included 2.4G dongle that is kept in place via a magnet metal cover.

You need to remove the USB dongle to use the secondary (optional but included) LCD screen.

The product has three different connection methods USB wired + 2.4G wireless + BT5.0 (via switches) and it can be powered via the included TypeC interface. To use the wire method, toggle the switch to the middle and plug the keyboard. Note: The battery charges under either wireless or wired mode, as long as the keyboard is plugged in.

The Type C connection is present at the back of the keyboard. There are no special routing canals for better organizing the TypeC cable.

Toggle the switch to the 2.4G side, make sure that the keyboard is under the 2.4G wireless mode:
- Hold Fn+R for 3-5 seconds till the indicator flashes fast, the keyboard is ready to pair.
- Insert the 2.4G dongle to your computer. When the keyboard is connected, the indicator stops flashing.
Toggle the switch to the BT side, make sure that the keyboard is under the Bluetooth mode:
- Hold Fn+Q/W/E for 3-5 seconds till the indicator flashes fast, the keyboard is ready to pair.
- Turn on your Bluetooth device and find “Epomaker RT80”, then connect. When the keyboard is connected to the Bluetooth device, the indicator stops flashing and the connection is done.
- Press Fn+ Q/W/E to toggle between the Bluetooth devices 1/2/3.
While the battery can be checked as follows. Hold Fn+Backspace, the keys from 1 to 0 lights up to show the battery percentage; for example, if the keys from 1 to 6 light up when holding Fn+ Backspace, it means that the battery life is currently 60%; if keys of 1-Olight up, battery life is 100%.
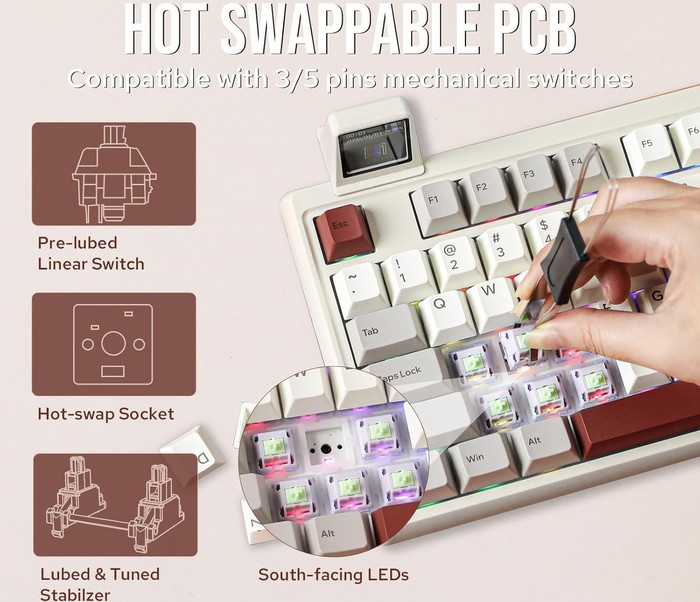
All keys can be removed with the included tool and serviced or changed. You can replace different switches, and customize the tactile and auditory feedback you like, and is compatible with most three/five-pin pivot base mechanical switches.
Below is what the EPOMAKER RT80 keyboard looks like when fully assembled.

Users can change either the keycaps, switches or the included USB cables. EPOMAKER has many different products for all users:
Keycaps: Explore our wide selection of unique and vibrant keycaps to personalize your keyboard. From bold colors to intricate designs, EPOMAKER keycaps offer the perfect way to elevate your typing experience and make your setup truly your own.
Switches: Discover EPOMAKER's range of mechanical switches, designed to suit every typing preference. Whether you prefer a tactile, clicky, or linear feel, our switches offer precise performance and customization for the ultimate typing experience.
Upgrade Cables: Upgrade your setup with EPOMAKER's premium cables. Our selection of durable, high-performance cables enhances both functionality and style, offering a seamless connection and added flair to complete your perfect keyboard build.