DVDXCopy
2. Page 2
DVDXCopy - Page 2
We have finished with the basic options and it's about time to start the procedure. Let's press the "Copy Now" button. The software will copy the contents of the original DVD disc to the HDD, will modify the necessary files and afterwards it will burn the disk(s) to a DVD±R/RW media. 321 Studios suggest using DVD-RW/+RW in order to test the software first, but now days DVD-R media are also affordable.

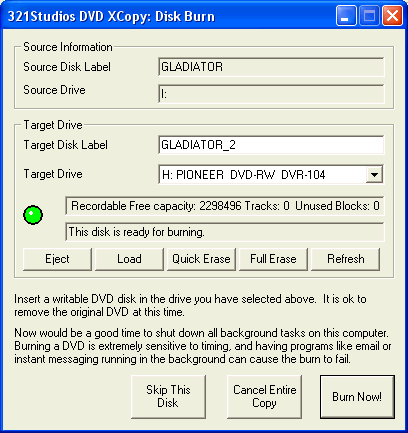
The "Output Disk is ready" window verifies that a blank disc is loaded to the DVD±R/RW and the software is ready to proceed directly to the writing part; else we will be prompted to insert a blank disc. That applies in the case we have a reader and a writer. The drive's supported ripping speed and the CPU resources of your PC mainly affect the reading time. With a LiteOn LTD-163 it took 15mins to rip the disc to HDD, with a rather slow PC, for the current standard (AMD Duron 700 MHz). Note that if you decide not to burn the disk the data from HDD will be erased, so you have to repeat the same process for future usage.
After having the first disc contents is on the HDD, the software will start burning. Currently the software uses Nero Burning engine. With a 2X DVD-R media and with Pioneer DVR-104, the duration of the task will be approximately 25mins.
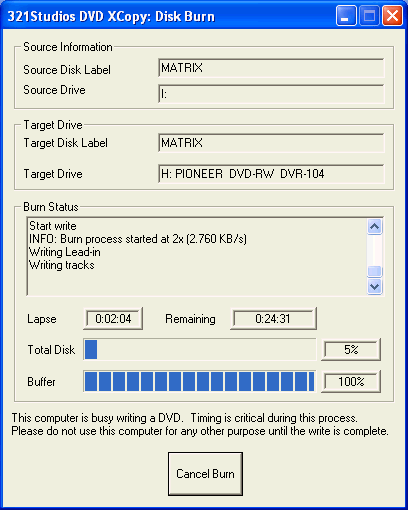
After a successful burning of the first disc, the software proceeds to the second disk

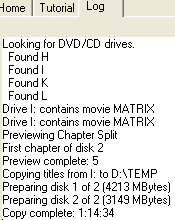
For making a backup of the Matrix movie, with LiteOn LTD-163 (source) and Pioneer DVR-104 (writer), we needed 1:14:34mins.
A successful message will appear with a false, however, Kb/s calculation:

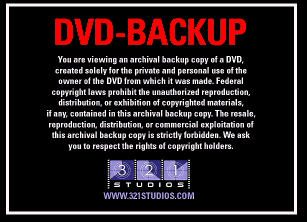
Let's see now if our disc works correctly. We used PowerDVD XP to test the disc. The first screen prompts us that this is a backup disc:
When we tried to access the second part, a screen prompted us to insert Disc2:

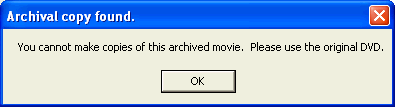
The software does not allow copying the produced DVD backup. However it's now pretty easy to backup it with normal CD-R software, since this time the contents are below 4.38GB
If you don't select automatic writing, you can select the burner and the disk label. However we noticed that the renaming the Disk Label feature doesn't seem to work properly.