Breaking News

ASRock Introduces Its First Taichi Flagship Monitor Lineup RICOH announces GR IV 30th Anniversary Edition Kit Samsung Begins Official Rollout of One UI 9 Canon announces EOS R8 Mark II Razer Unleashes the Kraken V4 X Sensa HD Haptics

logo

  • Share Us
    • Facebook
    • Twitter
  • Home
  • Home
  • News
  • Reviews
  • Essays
  • About
    • Submit News

    • Contact Us
    • Privacy

    • Promotion
    • Advertise

    • RSS Feed

Search form

bequiet! Silent Base 802 Midi Case Review

May 17,2021 0

3. Installation process


Review Pages

1. Introduction
2. Case overview
3. Installation process
4. Tests / Conclusion


After unboxing the case you have to start the building up your system. First you need to remove the side panels. This is very easy...however the included manual doesn’t give you good hints what to do...There are two big black buttons that need to be pressed and then the side panels are being released.

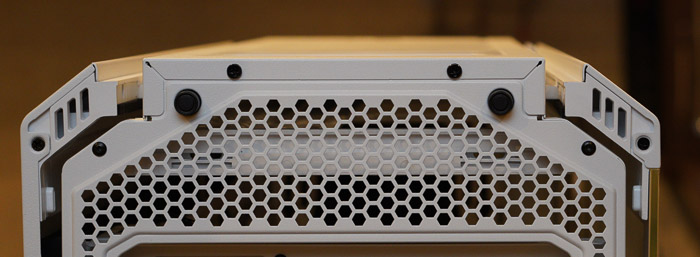
The side panel behind the motherboard has enough insulation

The top panels are magnetic and can easily be removed
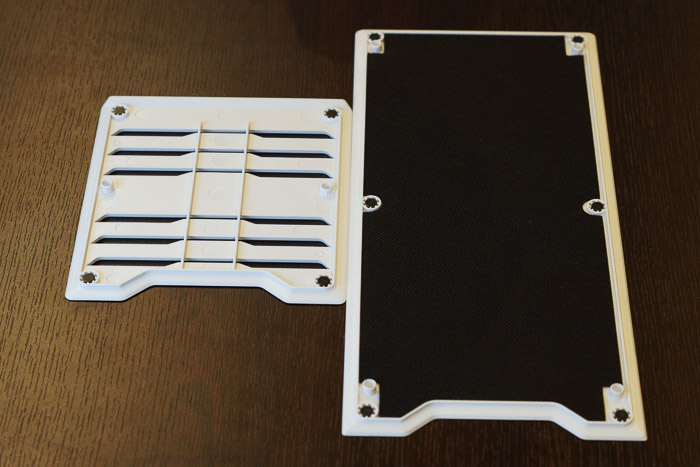
while lot of insulation is placed also to the front panel
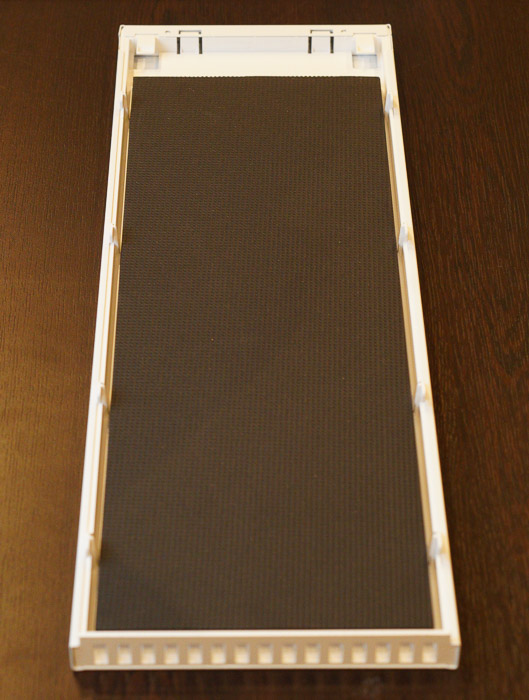
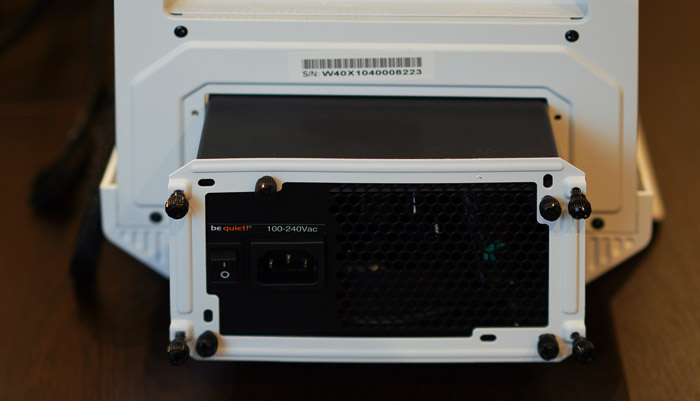
At the back you have to remove the PSU cover and install it at your PSU, then slide inside the case your power supply.

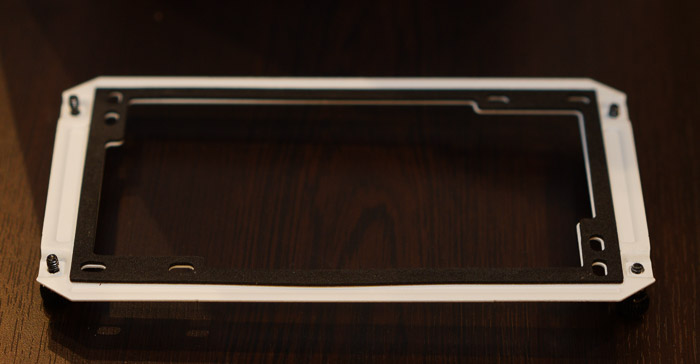
We used thumb screws also for the back PSU Panel (aren't included we used ours)
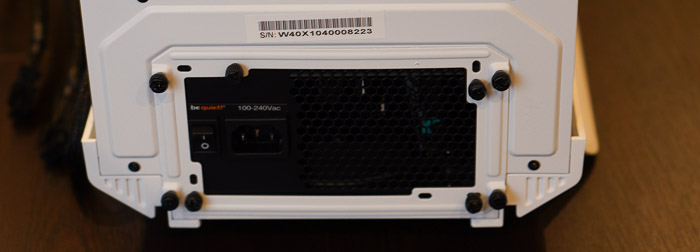
The be quiet logo is printed at the side panel also
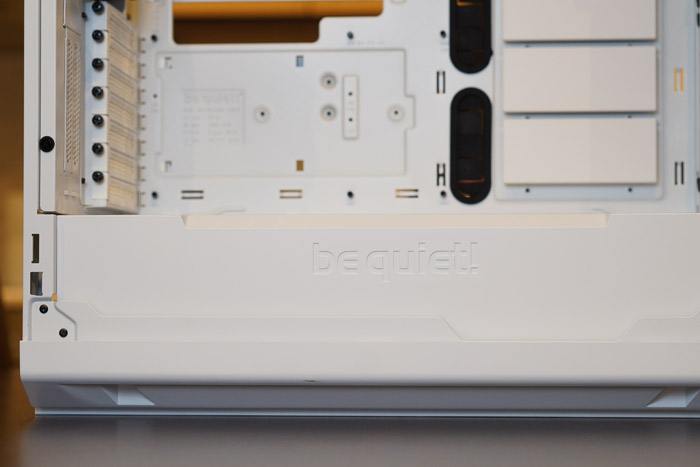
More ventilation holes are included at the front area
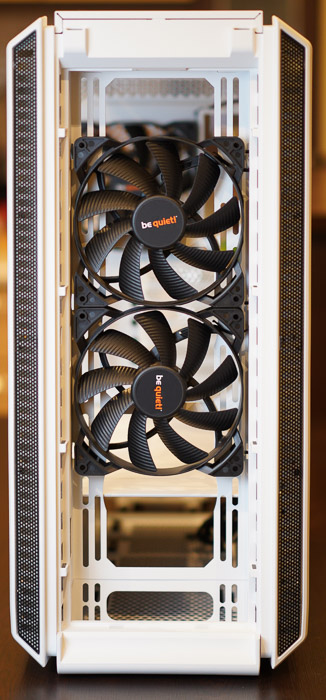
while at the bottom area you can install additional fan.
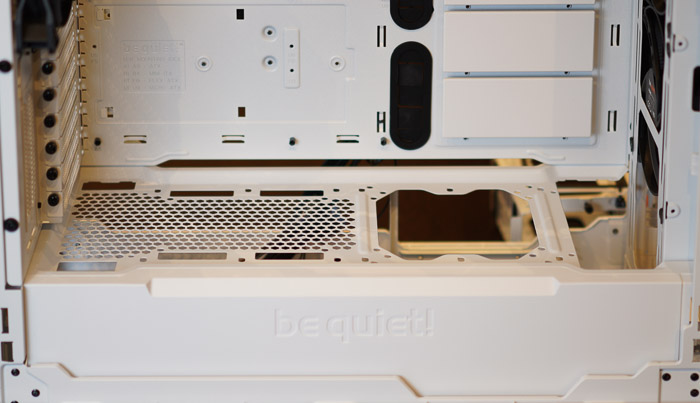
The bottom feet also have been installed, we didn’t also like the installation procedure it may take several tries to get it done.

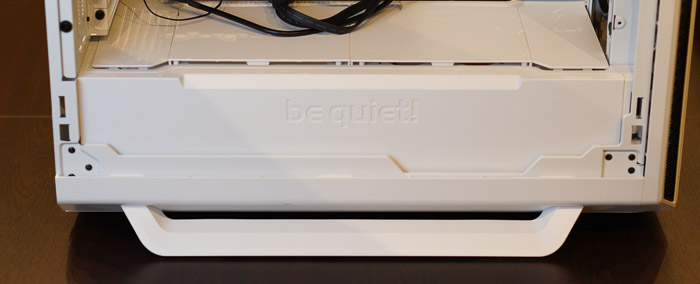
At the back area we can find lot of space and some basic cable management:
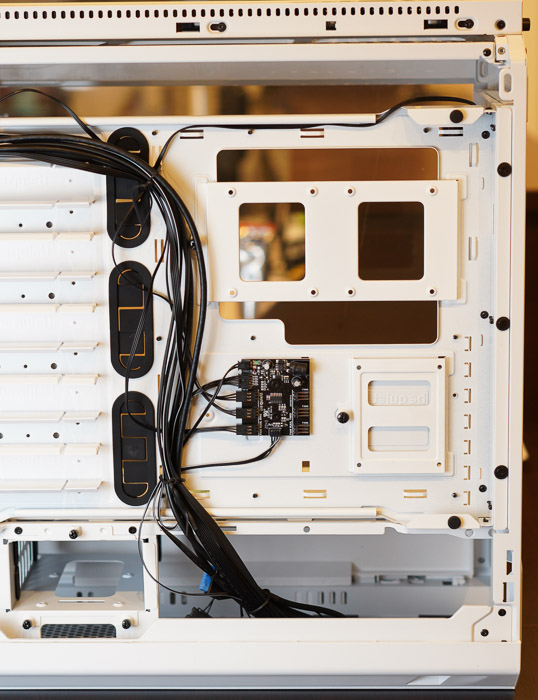
The included fan controller is designed from be quiet! and can be controlled via the included case switch at the front. It can support up to six 3 pin devices (three are pre-installed). There is no software operation neither software like Asus Qfan supports it...

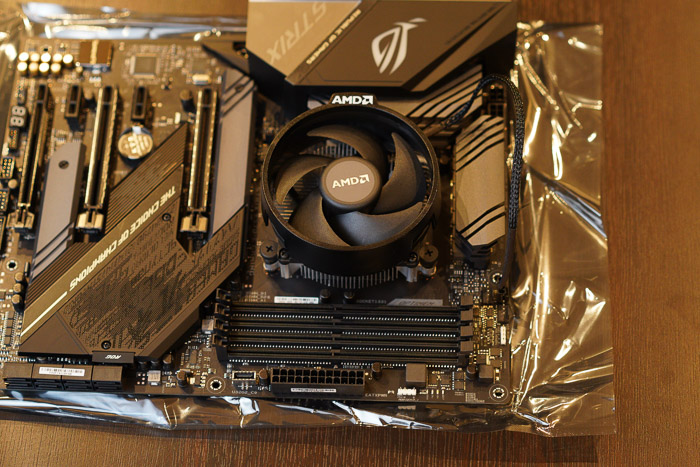
We used Asus Rog-Strix X570-E Gaming and an AMD Ryzen 5600X for our installation, with the default (stock) fan
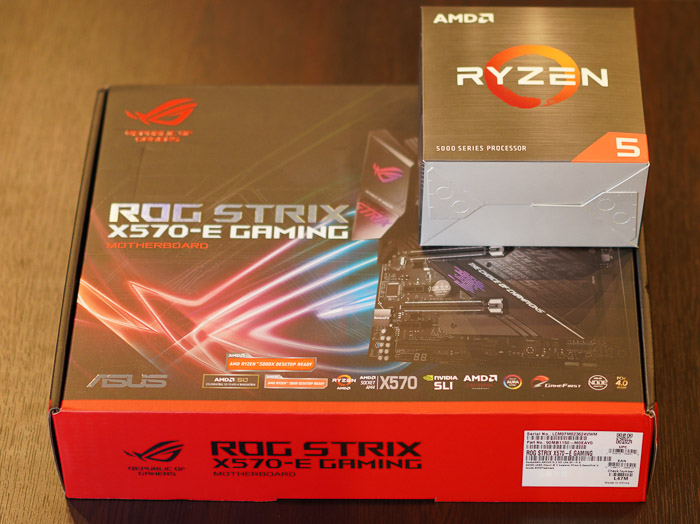
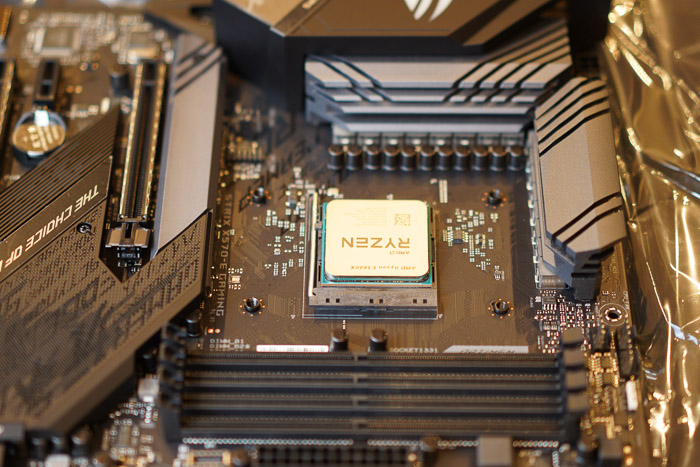
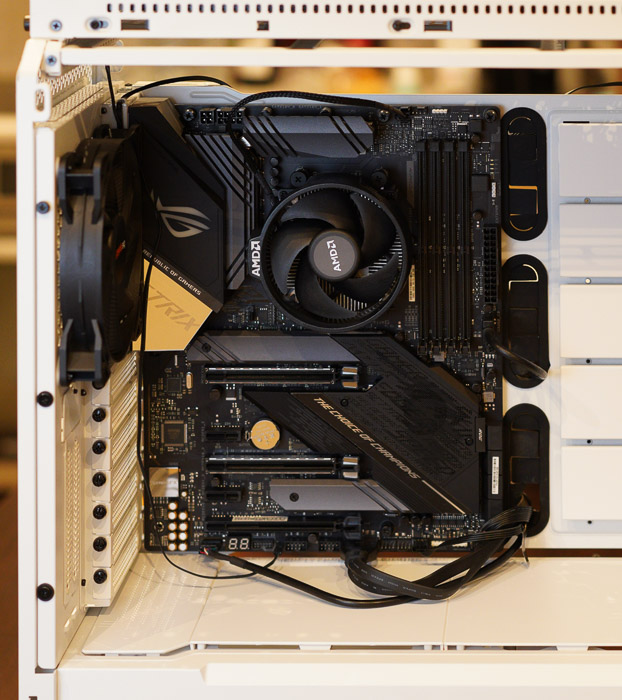
After installing the motherboard there is lot of free space around the motherboard.
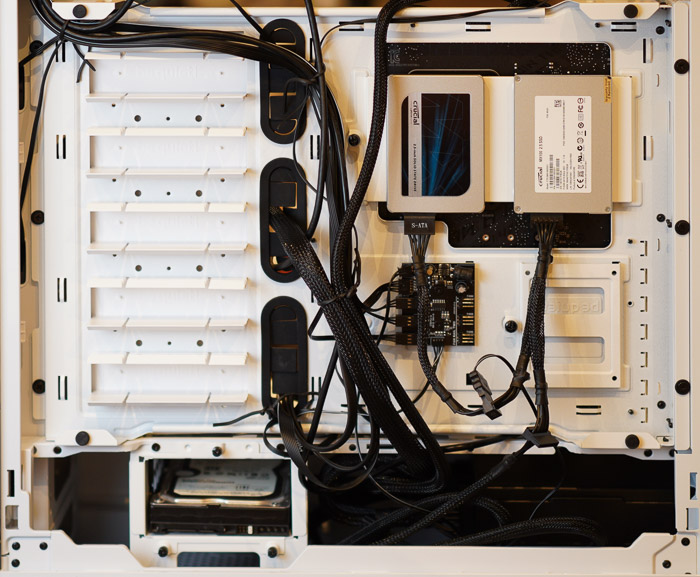
At the back there is a panel to get install two (2) 2.5" storage devices, while its convenient and easy to get install, the cables do come very close with the side panel insulation.

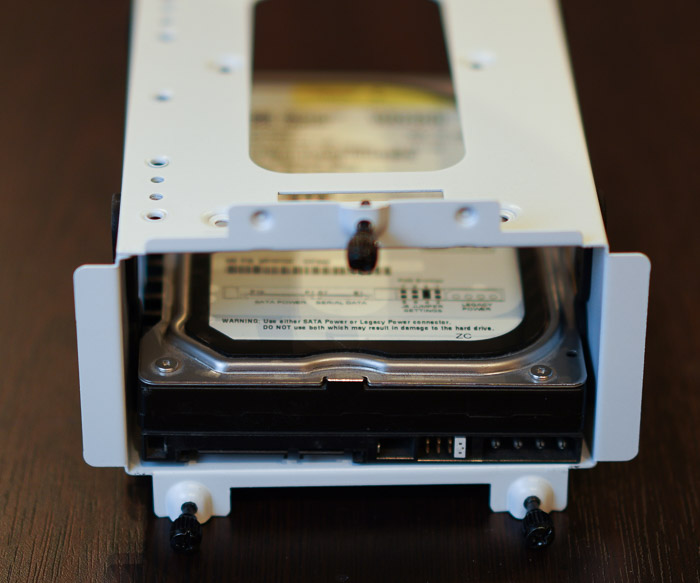
The HDD bay also include anti-vibration pads and thumb screws, which we didn't liked since are hard to twist.
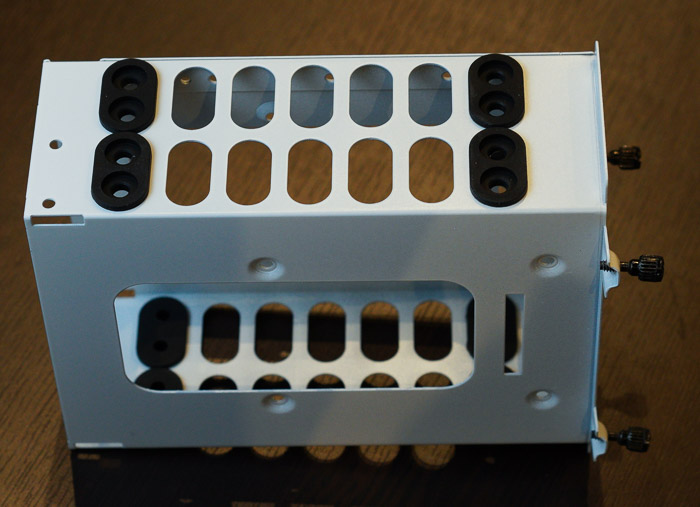
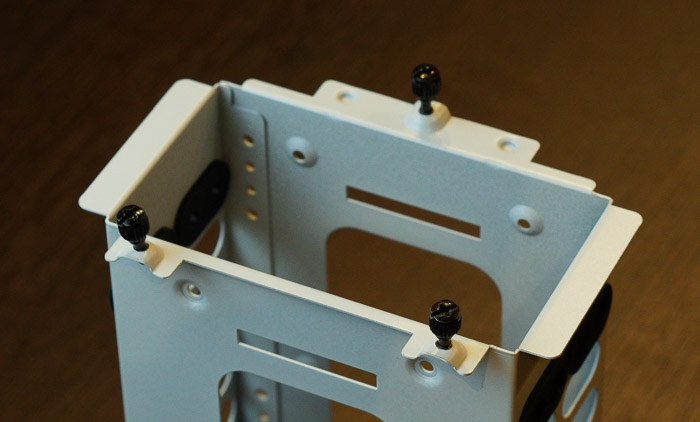
After installed the power supply and the motherboard power/SATA cables, there is lot of empty space at the back which can be used to perform very good cable management.
 

Review Pages

1. Introduction
2. Case overview
3. Installation process
4. Tests / Conclusion


Pages

  • « first
  • ‹ previous
  • 1
  • 2
  • 3
  • 4
  • next ›
  • last »

be quiet!

Tags: be quiet!
Previous Post
Stellar SpeedUp Mac Software Review
Next Post
Samsung 980Pro vs 980 1TB SSD Review

Related Posts

  • be quiet! Dark Power 14 IO

  • be quiet! Light Mount TKL

  • be quiet! raises the bar with the new Dark Power Pro 14 IO power supply series

  • be quiet! expands its peripheral lineup with Light Mount TKL and Mousepad XL

  • be quiet! Light Loop IO LCD

  • be quiet! introduces Light Loop IO LCD

  • be quiet! unveils new power, cooling, and peripheral lineup

  • be quiet! Dark Rock Pro 6

Latest Reviews

Fanxiang MP83 M.2 NVMe SSD Enclosure
Enterprise & IT

Fanxiang MP83 M.2 NVMe SSD Enclosure

Ugreen CM642 USB4.0 Enclosure
PC components

Ugreen CM642 USB4.0 Enclosure

be quiet! Dark Power 14 IO
PC components

be quiet! Dark Power 14 IO

SanDisk High Endurance 512GB microSDXC
Cameras

SanDisk High Endurance 512GB microSDXC

Samsung PRO Ultimate 512GB microSDXC
Cameras

Samsung PRO Ultimate 512GB microSDXC

Popular News

CORSAIR announces Vanguard Pro 96 and Vanguard 96 Gaming Keyboards

CORSAIR announces Vanguard Pro 96 and Vanguard 96 Gaming Keyboards

MSI Launches FORGE GK600 TKL WIRELESS Special Edition Compact Mechanical Keyboard

MSI Launches FORGE GK600 TKL WIRELESS Special Edition Compact Mechanical Keyboard

MSI’s Latest AMD X870E MAX & EVO Series Motherboards

MSI’s Latest AMD X870E MAX & EVO Series Motherboards

Panasonic Introduces the First Ultra-Telephoto Zoom Lens in the LUMIX S Series

Panasonic Introduces the First Ultra-Telephoto Zoom Lens in the LUMIX S Series

COLORFUL Launches iGame B850M ULTRA Series Micro-ATX Motherboards

COLORFUL Launches iGame B850M ULTRA Series Micro-ATX Motherboards

COLORFUL Presents Limited Edition Chitu MAG-60 Magnetic Keyboard Inspired by the Year of the Horse

COLORFUL Presents Limited Edition Chitu MAG-60 Magnetic Keyboard Inspired by the Year of the Horse

COLORFUL Presents iGame Z890 ULTRA-S W and iGame Z890M ULTRA Z Motherboards

COLORFUL Presents iGame Z890 ULTRA-S W and iGame Z890M ULTRA Z Motherboards

LIAN LI Launches 8.8” Universal Screen with Flexible Mounting Solution

LIAN LI Launches 8.8” Universal Screen with Flexible Mounting Solution

Main menu

  • Home
  • News
  • Reviews
  • Essays
  • About
    • Submit News

    • Contact Us
    • Privacy

    • Promotion
    • Advertise

    • RSS Feed
  • About
  • Privacy
  • Contact Us
  • Promotional Opportunities @ CdrInfo.com
  • Advertise on out site
  • Submit your News to our site
  • RSS Feed