1. Introduction
DVD Shrink Guide - Page 1
Introduction
After several requests of our readers we decided to make a
simple guide of DVD Shrink software.
DVD Shrink is a very useful utility for creating backups of
DVD movies, providing additionally many tools in order to remake the movie
according to
our capacity/qualiity needs.
It is
is possible that many of the settings appearing in the following guide
to be unavailable in any previous version of DVD Shrink. The version we
have installed is the v3.1.4.
In the following pages we describe how to backup a DVD movie
title from its original disc or your Hard Disk. Off course, as you can easily
understand, this procedure demands some different steps in order to accomplise
your target. All the appropriate information are summarized in the
following
pages. The last one includes some general settings about the software.
We hope you will find all those information helpful.
2. Open files from DVD Drive
DVD Shrink Guide - Page 2
Open files from DVD drive
Below you can see the main screen of DVD Shrink software:
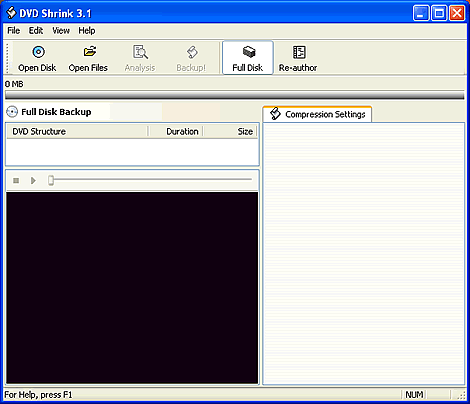
We select the "Open Disk" icon. As soon as we press
it, we will see the following message:
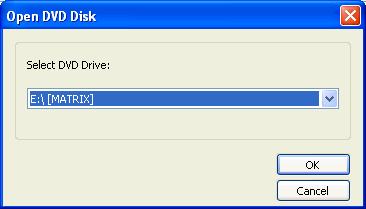
Here we have to define the drive in which we have inserted
the DVD Video disc. In our case the "Matrix" movie
title is in the is the E drive of ourPC. With the defauls settings, we press
"OK" and the movie analyzing process begins:
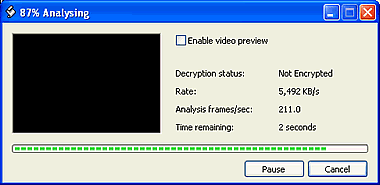
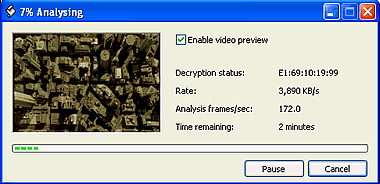
There is also a option for a video preview, by checking the
box of "Enable video preview". Here you can watch the movie in
fast mode. It is not recommended since it makes the analyzing process slower
and
of course, this would reveal you the end of the movie before actually watching
it!
After the end of analyzing the following screen will be appeared:
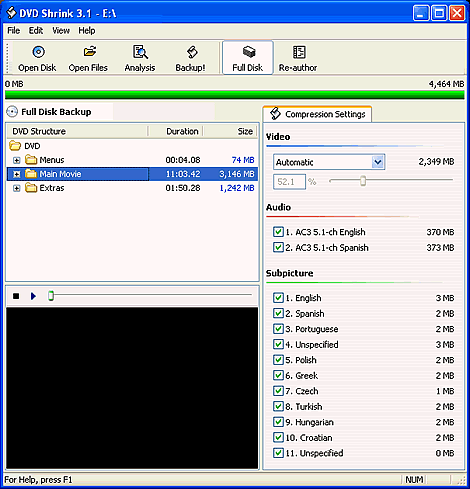
Users of Nero Recode 2 will find this interface familiar:))
In
the following page you can see how to open exciting files from your hard
disk,
where you
have
already
use
a
software
such as
DVD Decrypter
to remove all protections.
3. Open existing files from Hard Disk
DVD Shrink Guide - Page 3
Open files from Hard Disk
Another common way of importing video files, is this from our
Hard Disk. It is very simple. We just press the "Open Files" icon.

As soon as we do this, the following window will appear.
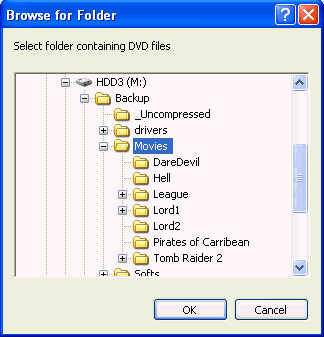
Now the only thing we have to do, is to define the folder that
contains the video files we want to process. Then we press OK. Bellow is presented
the window that we will see:

Once again we can enable the video preview.
After DVD Shrink analyses our files, the process stops. The
next screenshot is what we will see:

As you can see is the same one with this in the previous page.
If you want to backup the movie, untouched, skip the next page and go straight
to Backup page.
4. Re-author
DVD Shrink Guide - Page 4
Re-author
The following step is to choose what we want to keep and what
we are not.
Once again we give you the same screenshot for reference reasons.

At this moment we must decide which menus, audio or subtitles
we want to keep or not. If we just want to take whole of the movie without
changing anything we must select  the "Full Disk" option. Otherwise if we want to remove for example
all the subtitles or the stereo audio and keep only one language and DTS5.1
audio, then we must choose the other option, called "Re-author".
After selecting the "Re-author" option, we will see
the following screen:
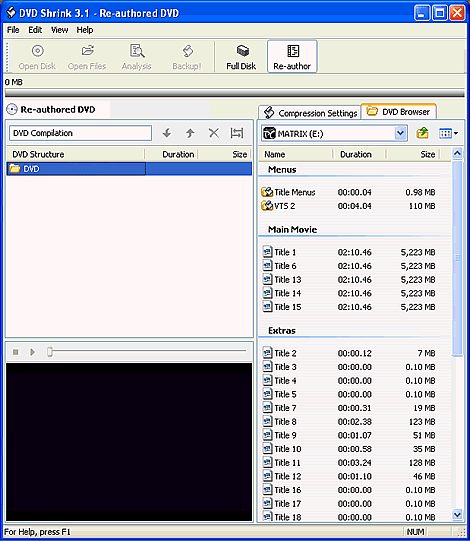
Here we have to select which files we want to keep and which
not. Those we want, we drag and drop them in the DVD structure area, as
in the
following example:

After we change from DVD Browser to Compression Setting tab:

Once again below is given what you will see:
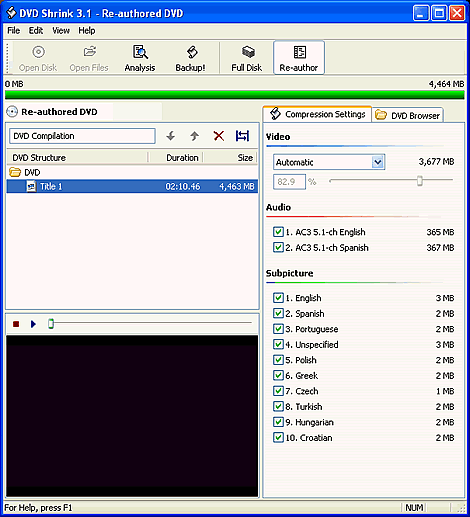
At this moment we can burn our movie or makes its quality better,
by removing all those things we don't want. Below there is an example:
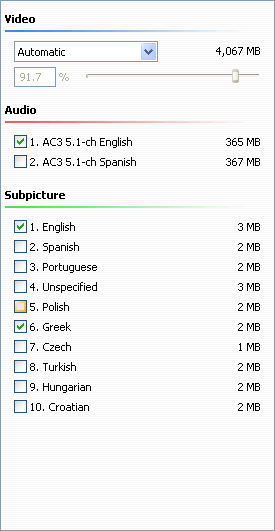
Here we removed all languages and subtitles we don't want, and
kept the rest. Notice the difference in quality.

Before
 After
After
5. Backup
DVD Shrink Guide - Page 5
Backup
After finishing with compression settings, it is time to backup
the movie. First we select the Backup icon  ,
and the following window will appear:
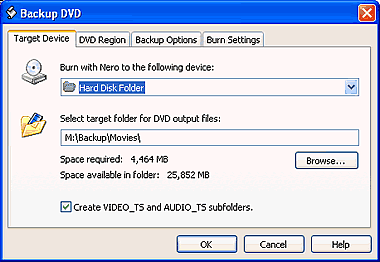
Here we can select to save our movie either on Hard Disk or
on a blank media. For our example we set to Hard Disk Folder, which is most
common. From the "Browse..." button we can define the destination
folder. In case of media the folder for temporary files. Also it is good
to
check the box for creating VIDEO_TS and AUDIO_TS subfolder, especially in
case of straight recording (on a media). So we press OK. Below is presented
the window
that we will see.
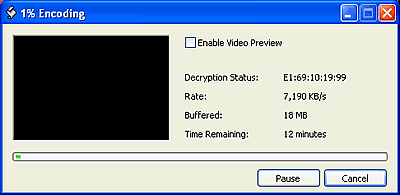
We don't recommend to enable video preview. As soon as the procedure
is done you will be noticed, with the appropriate message.
Below are gathered some information for the other options,
given from DVD Shrink while backup. Above we described the "Target
Device"
option, let's take a look of what are the other three options :
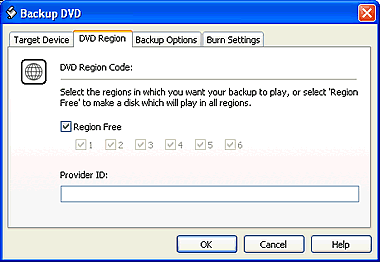
Here we can set the region code. We always prefer the Region
Free option, since our movie will be playable no matter what region supports
our player.
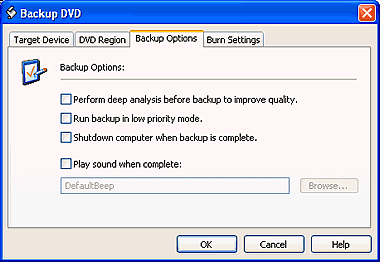
You can check the first box for deep analysis and better quality.
Notice that with this option enabled the analyzing process takes more time,
approximately 25 minutes.
The second option give us the opportunity to set the priority
mode for DVD Shrink, if we are running several programs at the same time,
multitasking.
If we want our PC to shut down after the backup process is finished,
just enable the third option by checking the box.
Last, if there is any sound that we want to hear after the backup
process is finished, check the fourth and define the folder that this sound
is from the "Browse..." button.
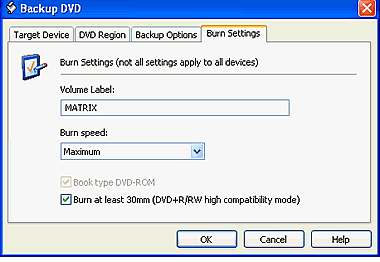
The burn setting are enable only in case that we have select
in Target Device tab a recorder instead of Hard Disk. If you are about to
burn a DVD+R/RW media, you can check the "Burn at least 30mm" box
for higher compatibility. Also you can select to change book type from a
DVD+R
to DVD-ROM by checking the "Book type DVD-ROM" box.
In the following you can learn about some general setting of
the software.
6. Program Preferences
DVD Shrink Guide - Page 6
Preferences
From the Edit tab  you
can find the software's preferences.
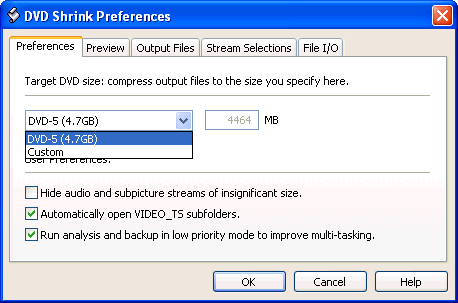
Here you can set the size of the outputted files. It is better
to use the default option, which fits exactly onto a DVD blank media, of
4.7GB. If for
any reason you would like to change it, choose the custom option and define
the size manually.
The next option, which we believe must be disabled, makes invisible
all the audio and subtitles of small size.
After, if you want automatically the VIDEO_TS subfolder to be
open, just enable this option. Otherwise you have to open manually each subfolder.
The last option gives you the opportunity to run in low or
high priority the analysis and backup processes in case we are running
many tasks
at the
same time.
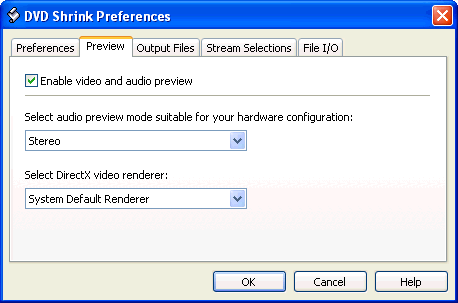
Here you can adjust a default audio configuration for the preview.
Also you can select the DirectX video renderer. The default
renderer allows other video application, such as DVD player software,
to access the video hardware at the same time, (which can be rather CPU intensive)
while you are previewing a video in DVD Shrink.
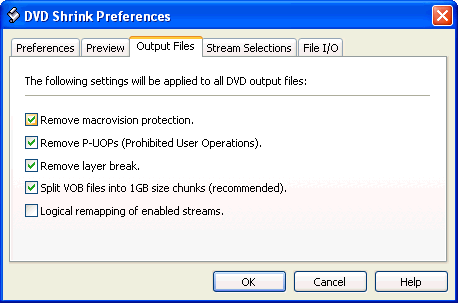
From the "Remove Macrovision protection" button
you can disable the Macrovision protection on the output.
The "Remove P-UOPs" option removes prohibited user
operations. In a few words the P-UOPs force you to return to the main
menu
to change the language, instead of using the remote control's shortcut keys.
Another example is that you are obliged to watch a trailer before the movie
since the skip buttons have been disabled.
By checking the "Remove layer break" option you will
remove the small pause in between layers that exists on a dual layer DVD.
It is recommended to enable the option "Split VOB files
into 1 GB size" in order the output movie will be DVD compliant and playable
on standalone players ( otherwise it is possible your devise to refuse to
play the movie).
From the "Logical remapping of enabled streams" option
you will be able to remap audio and subtitle stream numbers in the IFO file.
For example, if you have disabled stream 4, stream 5 on the original disc
now becomes stream 4..
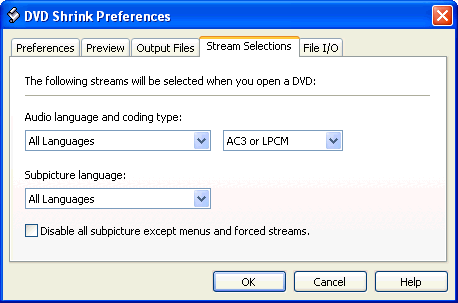
From this tab we can adjust the default streams that will be
appear, as default, when a DVD is opening.
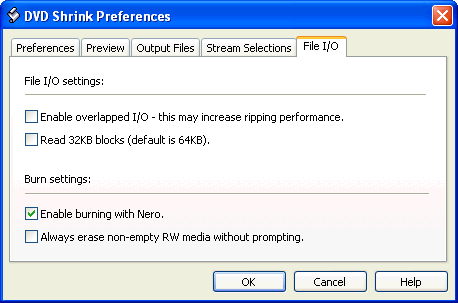
Here, all the information about what each setting does, either
is given next to it or it is easily understandable.