1. Introduction
“Nero Burning Rom AudioCD”
INTRODUCTION
This is a simple guide for creating an AudioCD project using the most
known Nero Burning Rom software. Will we see how we can convert MP3 into WAV
songs in order to be compatible with any player which doesn't support MP3 playback.
There are several ways of creating our project but we will try the simplest.
The software's version we used was 6.0.0.19

2. Step1
“Nero Burning Rom AudioCD”
Open
We run the Nero Burning Rom from Nero software. The program opens
and as soon as we informed about the version we will see the following
screenshot:
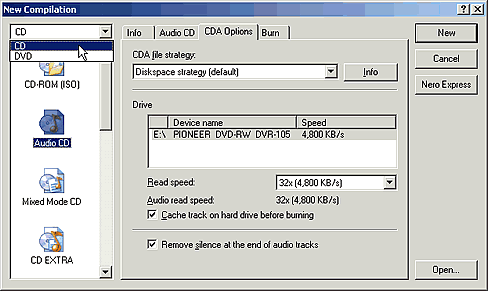
Here we must choose from the drop-down menu, in the up and left
corner of Nero screen, the CD option. Next we select the AudioCD icon
and before we press the NEW button, on the up and right, we can give a name
to
our Compilation
from the tab "AudioCD" ( if we forget it there is no problem because we will
have the oportunity again
later).

 We
press "New".
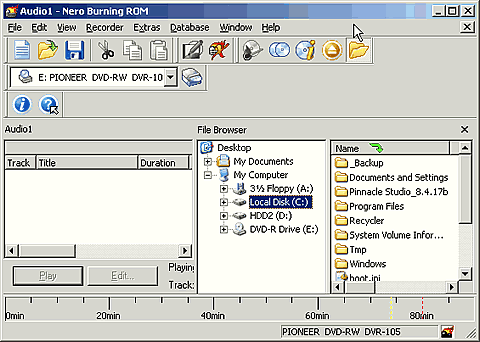
This is the screen that we will see:
3. Step2
“Nero Burning Rom AudioCD”
Disk info
Before we start the drug and drop procedure for creating our
DVD i will tell you a few thing that you maybe want to know. First of all you
can check the media that you want to burn if it is blank or not and thus some
information about it.

First insert your media. From the main bar we choose the Recorder
option.
Bellow is the menu that will appear.
 As you can see there is a Disk Info option. Press it and see
the next screenshot which is all the information for the media that you have
inserted.
(or just press the  icon)
icon)
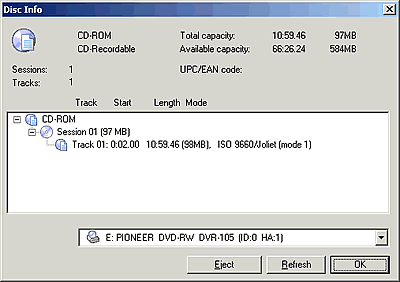
Just press OK to close the window.
4. Step3
“Nero Burning Rom AudioCD”
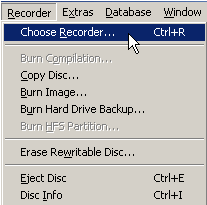
Choose Recorder
This is an option for those who have more than one recorder in
their computer. You can select the recording drive you want to use each time.
There is the possibility that Nero recognizes by default your CD recorder and
you want to use your DVD recorder. So we open the Recorder from the main bar
and as it is obvious we choose the "Choose Recorder "option. Otherwise
you can press the  icon.
icon.
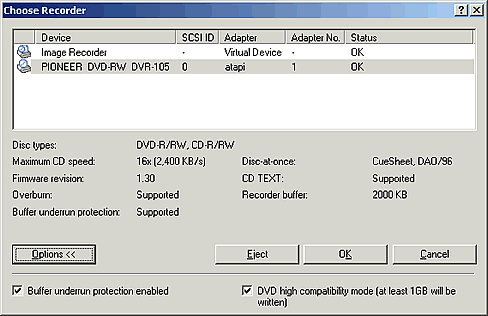
Here is the screen that you will see. In my Pc i had only one
recorder so i don't need this option. But if you have more than one you should
select which you wish to use by pressing on it. After press the OK button.
5. Step4
“Nero Burning Rom AudioCD”
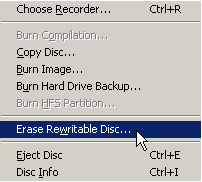
Erase RW Disk
If you are using a rewritable disk and you want to erase it open
once the Recorder option from the main bar and choose "Erase Rewritable Disk"
from the drop-down menu as bellow.
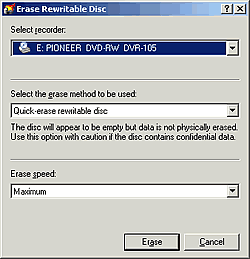
The following box will apear. We select the recorder where is
inserted the RW media which we are about to erase. As far as it concerns the
erasing method we can select either "Quick-erase"
or "Full-erase". The basic difference is that in the first we make
the media ready for rewriting and in the second we erase completely the contents
of the
disk. I usually prefer quick than full because is very faster. After press
the Erase button and wait for the procedure to be finished. Ending we
close the window.

6. Step5
“Nero Burning Rom AudioCD”
Burn
We find and we choose in the File Browser the folder with the
files we want to write. In the right menu we see the contents of the selected
folder. We choose them all ( put the censor in the contents menu and press
ctrl+A) and with the drag and drop way we put them in the second
from the left menu, as in photo bellow.
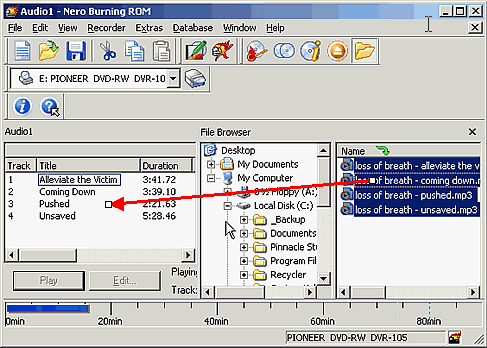
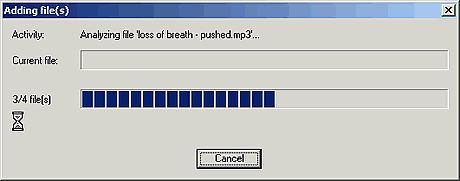
Each time we drop a selected file in our compilation automatically
this file converted from MP3 to WAV. While this procedure is taking time we
are seeing the following window.
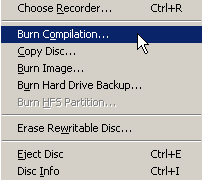
After you finish drug and drop choose the Recorder Option from
the main bar and right after the "Burn Compilation..." option or
just press the  icon.
icon.
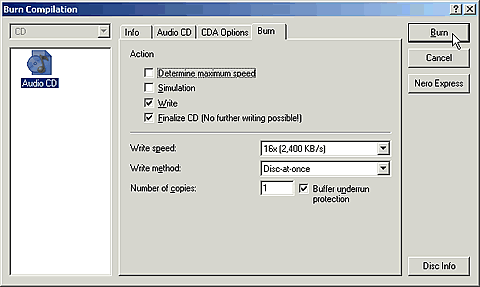
Below is the screen you will see. Choose the "Write" check
box for writing your project or "Simulation" for test. Also set the
speed you want, from the "Write speed" drop-down menu. Ending press
the "Burn" botton to start the burning procedure(or Simulate button if you
have
choose Simulation). If we forget to name our compilation this is our last chance
to
do it, just as we described in page 1.
Now you'll have to wait. The recording time depends on the writing
speed that your drive and media supports.
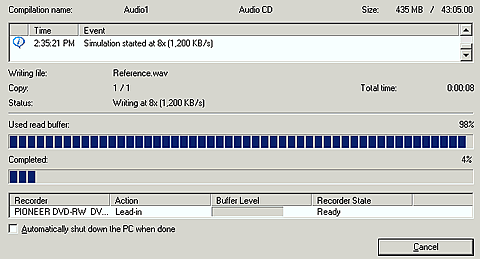
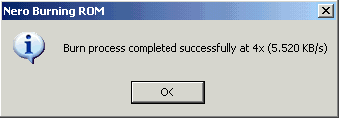
As soon as the procedure is complete you will receive the
following message.
