1. Simple guide for CD backup
SwiftDisc Burning Wizard
Below you may read a short and simple guide of how to use SwiftDisc Burning Wizard for making a backup of a CD. The settings adjustments vary, only the simplest ones are described. In the following description we make an example of backing up a user – compiled Audio CD.
NOTE: You cannot use SwiftDisc Burning Wizard to make illegal copies of copyrighted software, audio, or video material.
Here is the introductory screen of the software:
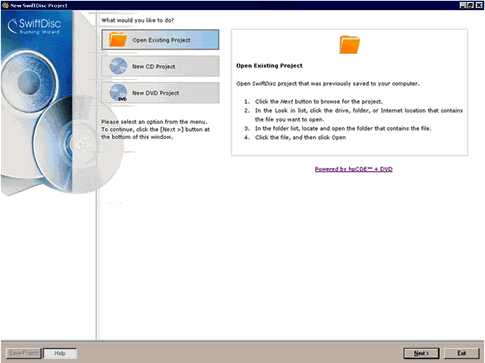
To create a backup of a CD, you must first start a CD project by selecting a New CD project and pressing Next >, which shows the following screen:
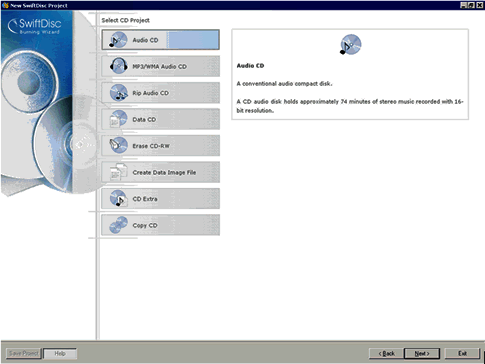
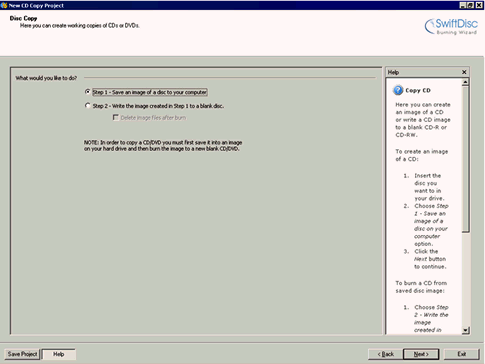
For backing up a CD, the best functionality is Copy CD. To us it, select that option on the list and press Next >.
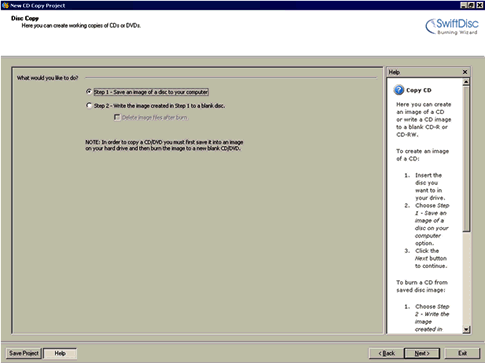
The fist step to back up the disc is to save an image of the disc to your computer. You can leave the default setting here and press Next >.

This screen lets you select the device where the disc you want to back up is inserted. Basic information about the device and the disc is displayed for the selected item. When you have chosen the device, press Next >.

This page displays the information about the size and type of information that is recorded on the disk that is copied. When you verify that the desired disc is recognized, you can press Next >.
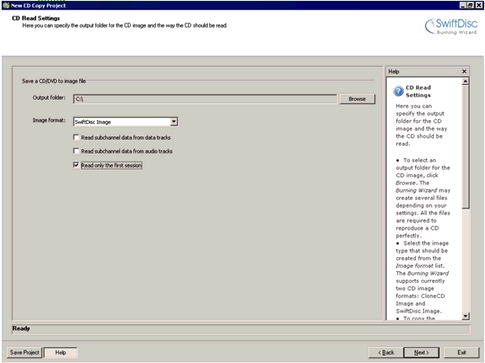
Here you should select where on your computer you want the image of the disc (temporarily) stored. You can also select what kind of image you want to create (a SwiftDisc Burning Wizard specific image, or one that can be recorded by other software - .ccd), if subchannel information is to be copied from the disc, and whether to copy the first session only, or all sessions on the disc. When you are ready, pressing Next > will start the process of copying the disc to your hard drive.
When the process terminates, pressing Exit will let you close the program, and Continue will take you back to this page: .

Again, pressing Copy CD and then Next > will lead to this page:
The second step to backing up a disc is to write the image created in the fist step to a blank disc. Here you can also choose to delete the intermediate files after burning is finished. Pressing Next > lets you choose the device where an empty disc is inserted:

Once you have selected the desired device, you are asked the location and the type of the image that you created in Step 1.
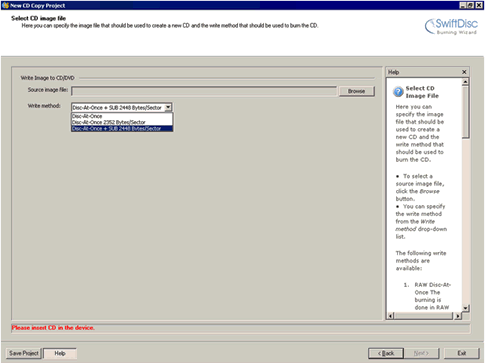
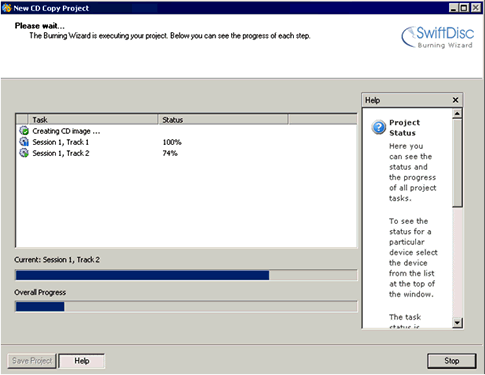
Once you insert a blank CD in the device you have already selected, and the image file (.sdi or .ccd) on your hard drive, you can choose a write method (or leave it as default), and press Next to burn your disc. When the progress finishes, you can Exit the program, or Continue to back up or create another disc.